There is a traditional
gold pan "Yuri-ita" in Japan.
Even now, the tool
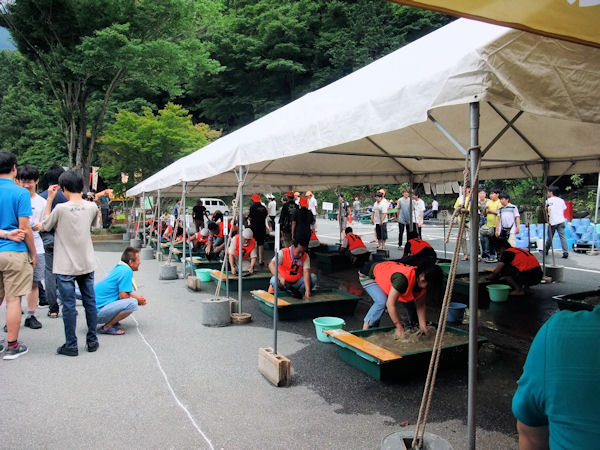
is lent out for the education of tourists and children in Usotan-nai gold
panning park (Hokkaido) and Rekifune-river (Hokkaido) in order to convey
ancient techniques.
Besides the Yuri-ita,
there were Yuri-hachi(no riffle flat-pan) and Yuri-bon(tray), but they are only
seen in museums.
Yuri-ita is not
commercially available, but each one is making it. There are no standard
dimensions, making it by each person's experience and idea.
Approximate dimensions are shown below.
1.Dimensions of Yuri-ita
(1) Length: 600 to 650mm
I think that it will be influencd by the shoulder width of
the person using it. Since the length is less than 500 mm in the World Gold Panning
Championships, it must be cut.
(2) Width: 300 to 350
mm
If it is wide, we
can handle a lot of sand, but it becomes difficult to discharge sand.
(3) Depth of curved part: 20 to 30 mm
It is thought that
shallow one is easier to escape gold, but the processing speed is
fast.
On the other hand,
when it is deep, the treatment action must be increased and the gold is
easily escaped.
(4) Plate thickness:
around 15 mm
It gets lighter as it becomes thinner, but it is in balance with the strength of the wood.
(5) Height of edge frame:
3 to 5 mm
Several riffles
with height are attached in the plastic gold pan, but there is one riffle at
the edge in
a Yuri-ita.
An ordinary person
thinks that if the height of the riffle is high, the recovery rate of gold will
increase, but removal of sand will be delayed. It is good to carefully operate thinking that it is panning (board-ing) with a board.
(6) Width of head part:
It is a part to
hold, width and height should be decided by the size of each hand.
(7) Open part:
One side of the Yuri-ita
is open. It is for separating gold and sand at the final stage of processing.
2. How to make a Yuri-ita
I tried making the
Yuri-ita for the first time. The old man was made only with saw and chisel, but
it takes time to work, so I used various power tools.
(1) Types of wood
The material of
the Yuri-ita is Willow, Katsura, Horse chestnut etc.
It is preferable
to use a straight grain of wood dried for more than 2 years.
As it is used in
the water, water resistance and corrosion resistance of the wood are important.
If broad wood is
not available, there is a method of bonding with adhesive. I used Japanese cypress that are readily available in Japan recently.
(2) Processing
If you use a large
machine, you can easily carve Yuri-ita, but ordinary people have to carve with
small tools for a long time. Since there is no standard production method, so please try various methods for every one.
(3) Fillers and
coatings
Water resistant
two-part epoxy is used for repairing scratches.
Painting are done only
on the outer surface, the inner surface is not painted so that the gold is easy to stop.
It is difficult to
find gold on the same color wood, so it is colored with black ink (Sumi). If you can’t
get Sumi, I think it is good to polish with paper after applying dark stain
(4) Production point
The points of the Yuri-ita
structure are the height of the edge frame and the depth of curved part.
If the edge frame is high and the curved port is deep,beginners like me
tend to think that the recovery rate of gold will be higher
However, the
discharge of sand is important in separating gold and sand.
The theory of recovery
with the Yuri-ita is basically the same as plastic gold pan.
3. How to operate the
Yuri-ita
Since it is
difficult to write the operation method of the Yuri-ita in sentences, please
refer to You Tube. The basic theory of the Yuri-ita seems to be the same as in
the case of plastic gold pan.
(1) Stand in the
position to see the downstream direction.
(2) Stir the sand
and remove large stones. When holding the head part of the Yuri-ita,
if you hold before the center line,the operability improves .
(3) Move the Yuri-ita
right and left or seesaw type to generate fluidization phenomenon and settle
the gold.
(4) Tilt the Yuri-ita
slightly toward you and gently put water and remove the upper sand to the
downstream side.
(5) Repeat the
operations (3) and (4) until the sand reaches a small amount.
(6) Collect gold
and sand on the head part side.
(7) Rotate 90
degrees and set the head part to the side of your body, rinse
slowly with water and let sand flow.
(8) When only sand
iron containing gold is obtained, tap the head part and move only gold to the upper
side.
(9) Push the gold with a dry finger and collect it
in a bottle or red cloth.


